Objective
Generate an SSH key using the built-in OpenSSH client in Windows and upload it to your Linux server in order to enable secure, passwordless authentication.
Environment
To complete this procedure, you will need a computer running Windows 10 or later.
Prerequisites
Before you begin, make sure that:
-
Your computer has an active internet connection.
-
You have the connection details for your Linux server (IP address, username, and password) provided by your hosting provider.
-
The OpenSSH Client feature is installed on your system. You can check this in Settings → Apps → Optional features.
Procedure
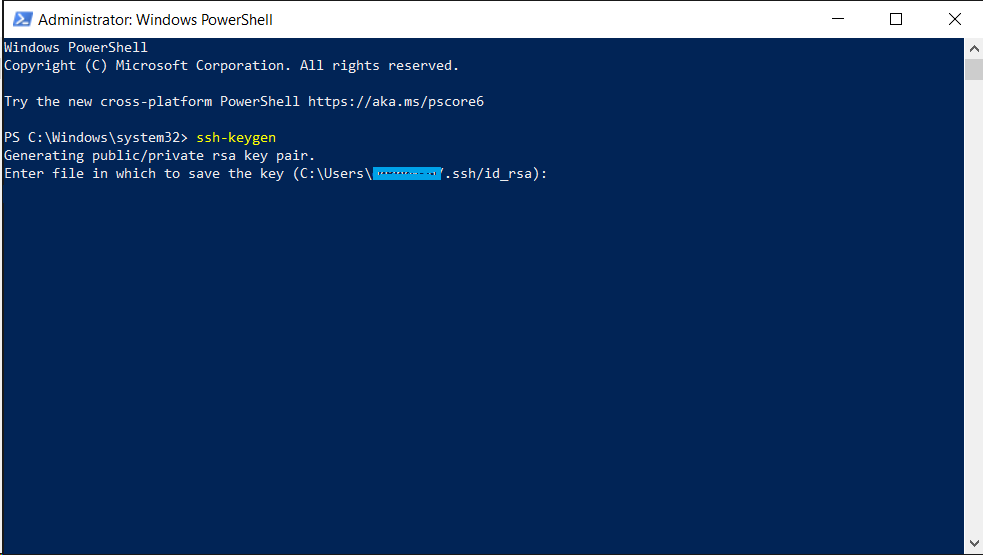
- Open PowerShell on your computer.
- Run the following command to generate a key pair:
ssh-keygen
and press Enter. - When prompted to specify a file in which to save the key, press Enter to accept the default location:
- (Optional but recommended) Create and type a passphrase to protect the private key, then press Enter. You will be asked to confirm the passphrase:
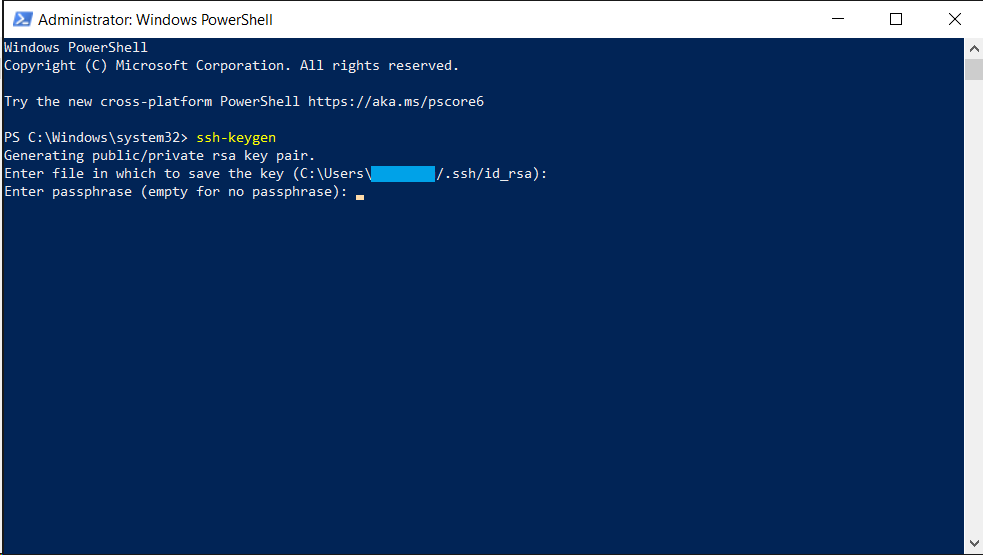
Important:
The private key allows anyone who has it to connect to your server and perform any actions. Never share your private key with others. - Display the public key by running
type $env:USERPROFILE\.ssh\id_rsa.pub:
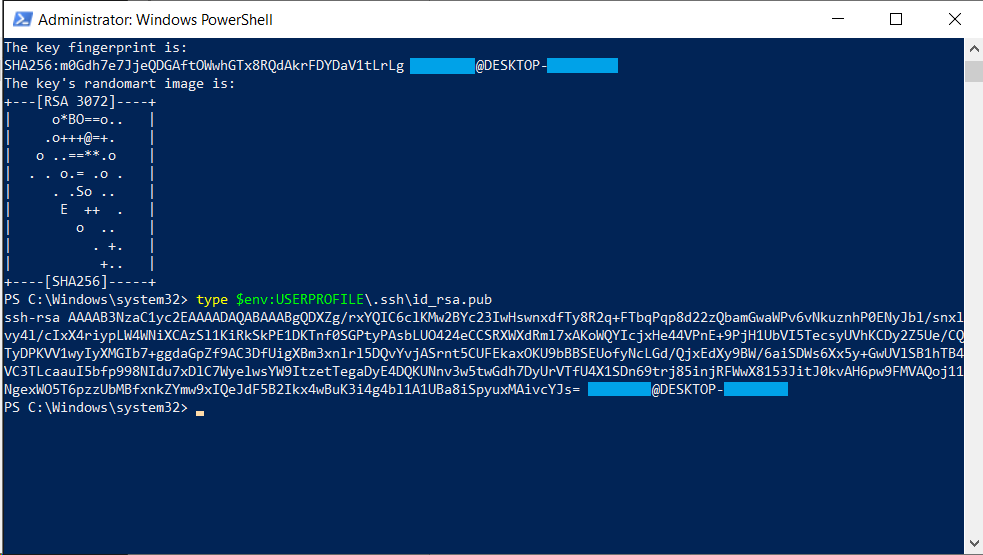
- Select the entire output (the public key) with your mouse and press Enter to copy it to the clipboard.
- Connect to your Linux server:
ssh root@ХХХ.XXХ.XХX.ХXX
Replace XXX.XXX.XXX.XXX with your server’s IP address,
then press Enter. - Type your server password and press Enter.
- Create the SSH directory on the server:
mkdir -p ~/.ssh - Add the public key to the authorized keys file:
echo "YYYYYYYYYY" >> ~/.ssh/authorized_keys
Replace YYYYYYYYYY with the public key you copied in step 6. - Set correct permissions:
chmod 700 ~/.ssh
chmod 600 ~/.ssh/authorized_keys
Done!
SSH key-based authentication is now configured. You can now connect to your Linux server without using the password provided by your hosting provider.