Objective
Sign in from your macOS computer to a server running Windows via the Remote Desktop Protocol (RDP) in order to manage it remotely, install software, configure the system, and perform tasks just like on a regular computer.
Environment
To establish a successful connection, you will need:
-
A computer running macOS (Apple MacBook or iMac).
-
The Windows App (formerly Microsoft Remote Desktop), available for free from the App Store.
Prerequisites
Before you begin, make sure that:
-
Your computer has an active internet connection.
-
You know the IP address or hostname of your Windows server (provided by your hosting provider).
-
You know the username (usually Administrator) and password for the server (provided by your hosting provider).
-
Remote Desktop access is enabled on the Windows server (typically configured by default when the service is provisioned).
Procedure
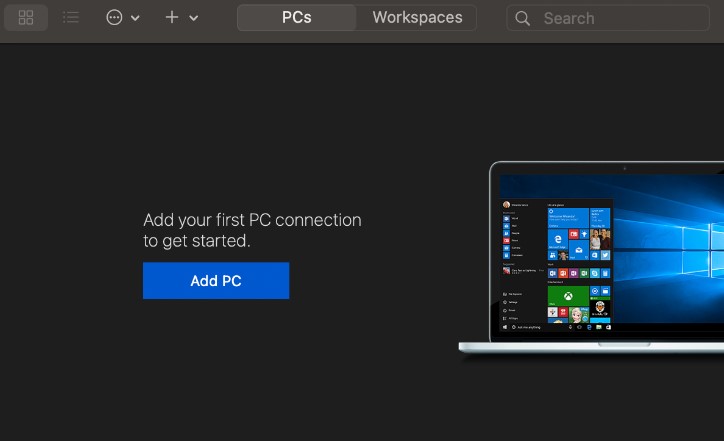
- Launch the Windows App on your Mac.
- Click New in the upper-left corner of the window or Add PC in the center (the available option depends on the app version and whether other connections already exist):
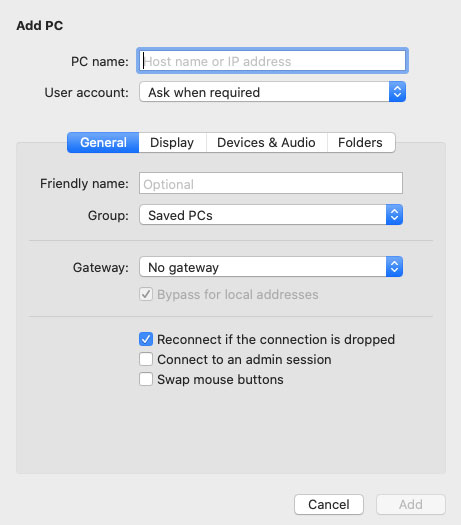
- Fill in the required fields:
• PC Name — enter the IP address or hostname of your Windows server;
• User account — select Add User Account, then enter the username and password for your Windows server;
• Friendly name — enter a descriptive name for the connection, for example, My Server:
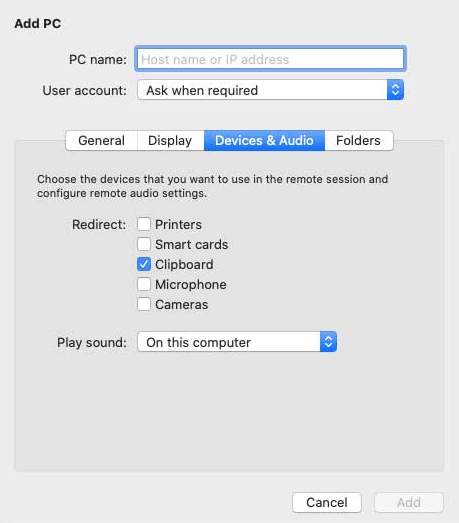
- Switch to the Devices & Audio tab and configure audio and device redirection settings if needed (optional):
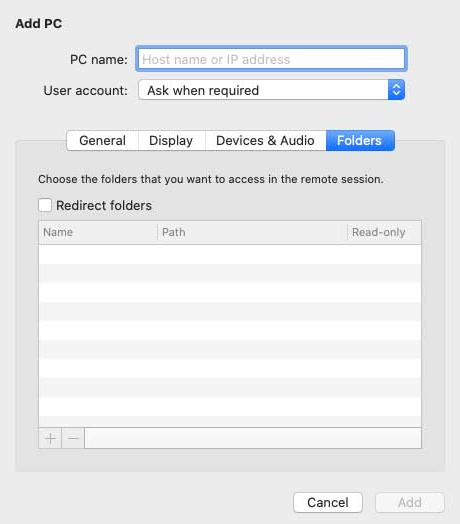
- Switch to the Folders tab, then click the + button to select one or more folders on your Mac that should be accessible in the remote desktop session (optional):
- Click Add to save the connection.
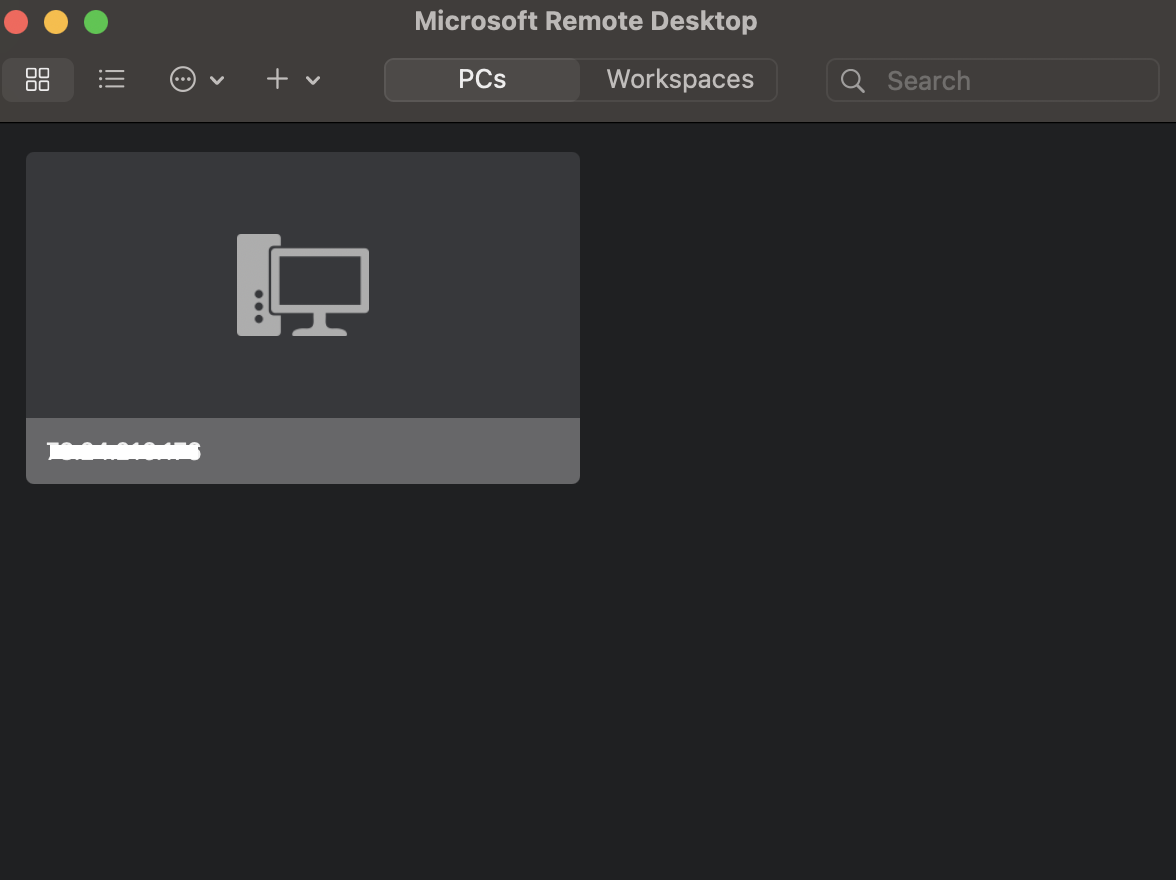
- Double-click the newly created connection icon to start connecting to your Windows server:
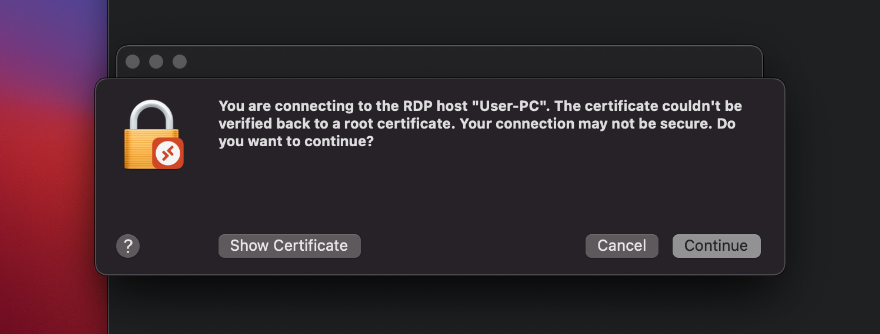
- If a certificate warning appears, click Continue to proceed with the connection:
- Wait for the remote desktop session to load. This usually takes a few seconds.
Additional Information
The certificate warning shown in step 8 appears because the certificate was automatically generated by the Windows server and is not signed by a trusted Certificate Authority. This is normal for new servers and can be safely ignored.
You can click Show certificate and enable Always trust in the dialog to prevent this warning from appearing in the future.
Done!
Once the connection is established, you will see the desktop of your remote Windows server. It looks almost the same as the desktop of any other Windows computer, and you can work with it just like on a local machine.